
The purpose
create a Japanese mesh (editable object) in Blender.
environment
Blender:3.4.1
OS:Windows 11
Converting a Text object to a mesh
Create Text Object
Switch to Object Mode.
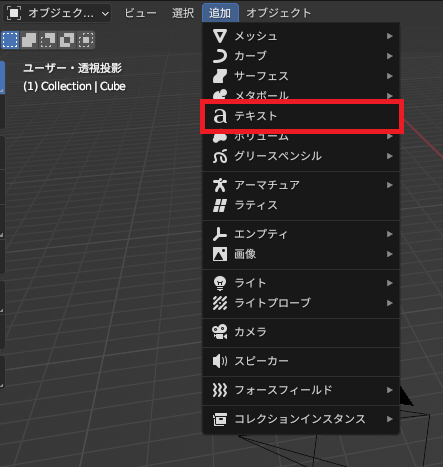
Select “Text” from add。
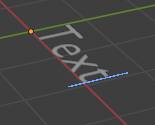
A “Text” object is created as follows:

modify Text
Switch from Object Mode to Edit Mode.
The cursor will appear in the created text object, allowing you to modify the text.
Click the 3D display area once if you cannot enter input.
However, Japanese input will not be available at this point.
Input Japanese
There are two steps required to input (display) Japanese text.
Change font
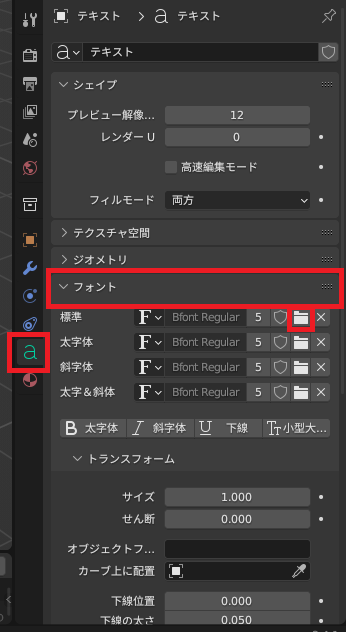
Open the “Object Data Properties” tab, go to the “Font” group, and then open a Japanese-compatible font (such as Yu Gothic) using the “Open Font” icon under the “Standard” section. (This setting must be configured for each project.)
setting for Japanese Text
Even after setting the font, Japanese text won’t appear when inputting directly.
To set Japanese text, type it in a program like Notepad, copy the text while maintaining the font settings, then paste it into the text input field.
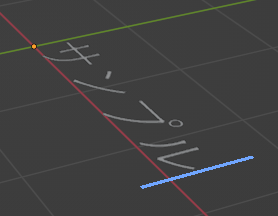
Following these steps will create a Japanese text object.
Textオブジェクトのメッシュ化
Textオブジェクトに厚みをつける
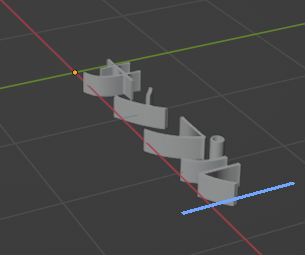
The Text object initially has no thickness, so we’ll add some.
Go to the “Object Data Properties” tab, then the “Geometry” group, and change the “Extrude” value from 0m (it’s currently 0 meters) to, for example, 0.1m.

As a result, the text object will have thickness.
Convert text object to mesh
Change the mode from Edit Mode to Object Mode.
Right-click in the 3D viewport and select “Transform” -> “Mesh”.
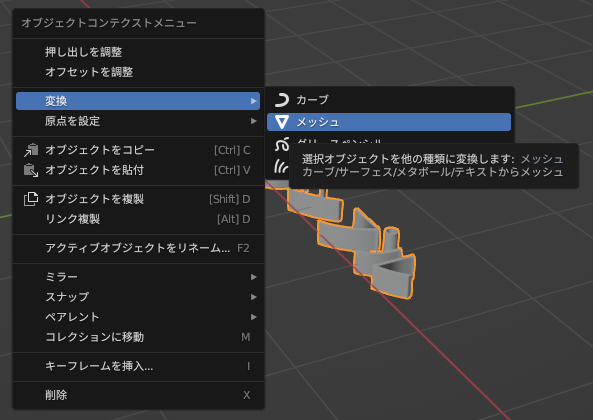
Meshing is complete.
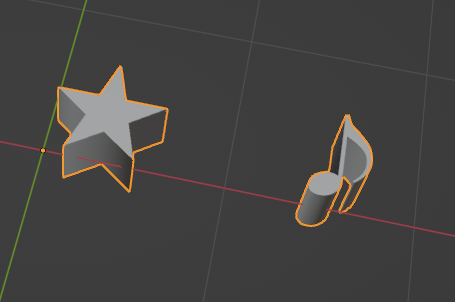
Result
A Japanese mesh has been successfully created.
Since it’s a mesh, vertex editing and adjustments are possible.
This method allows for easy creation of meshes not only for Japanese characters but also for special characters within fonts.
Other opinion
Combining basic meshes is too labor-intensive.

コメント