
The purpose
The object origin (the yellow point), which sometimes unexpectedly shifts position during integration or editing operations, is moved to its correct (or presumably correct) location.

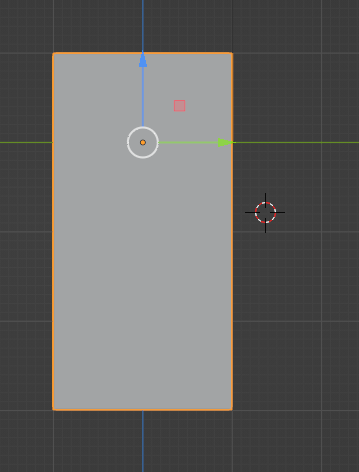
The yellow point in the red box above is the origin.
Ideally, it should be in the center of the cuboid or at the world origin, but it’s currently located at the bottom of the cuboid.
The object’s origin is used for editing functions.
If these functions aren’t working correctly, adjusting the origin’s position may resolve the issue.
Here, we’ll demonstrate how to move the origin to the object’s center of mass, the world origin, and an arbitrary point, respectively.
Environment
Blender:3.4.1
Move to the object’s center of gravity
Move to the object’s centroid
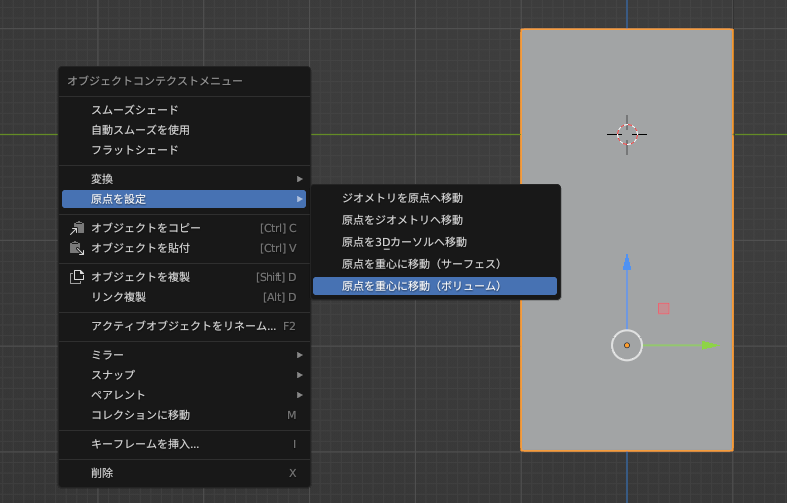
In Object Mode, select the desired object.
Then right-click, choose “Set Origin,” and select “Origin to Geometry.”
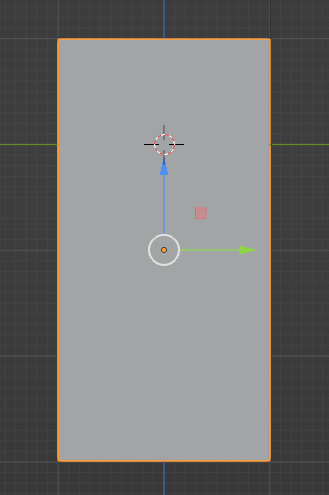
Result
The origin has been moved to the center of the object, as shown below.
Move to the origin of the space
Move to the origin of the space
In Object Mode, select the desired object.
Press Shift+C (this moves the 3D cursor to the world origin; omit this step if your 3D cursor is already at the world origin).
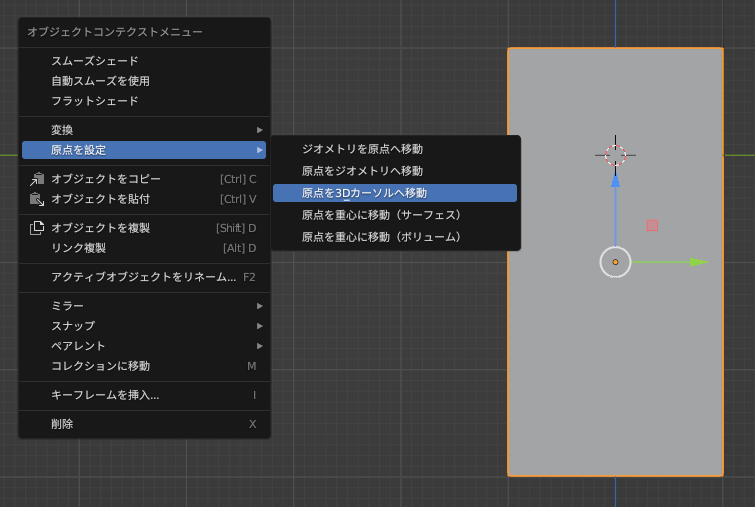
With the object selected, right-click, choose “Set Origin,” then select “Origin to 3D Cursor.”
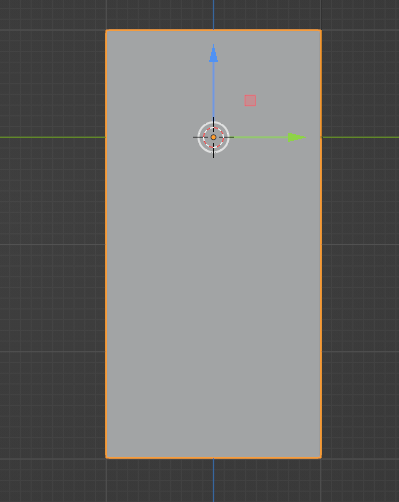
Result
The origin of the space has been moved to the origin (as shown below).
Move to any point
Move to the 3D cursor location
In “Object Mode,” select the target object.
Move the 3D cursor by Shift+right-dragging. (You can move it to any point by moving it from the x, y, and z perspectives.)
With the selection active, right-click → “Set Origin” → “Origin to 3D Cursor”.
Result
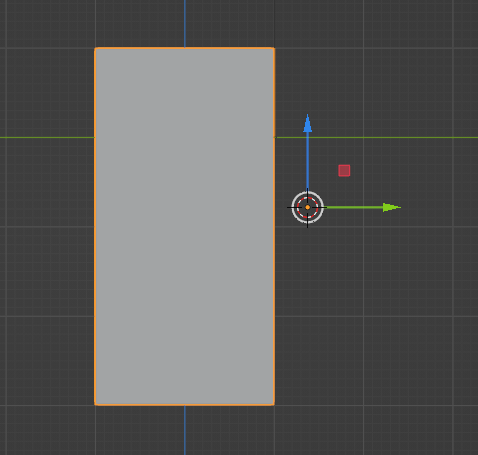
The origin was moved to an arbitrary point, as shown below.

コメント