
The purpose
Adjust the rendering area while viewing the 3D image.
See the page below for information on moving and rotating.

Environment
Blender:3.4.1
Adjustment using camera perspective and object data properties
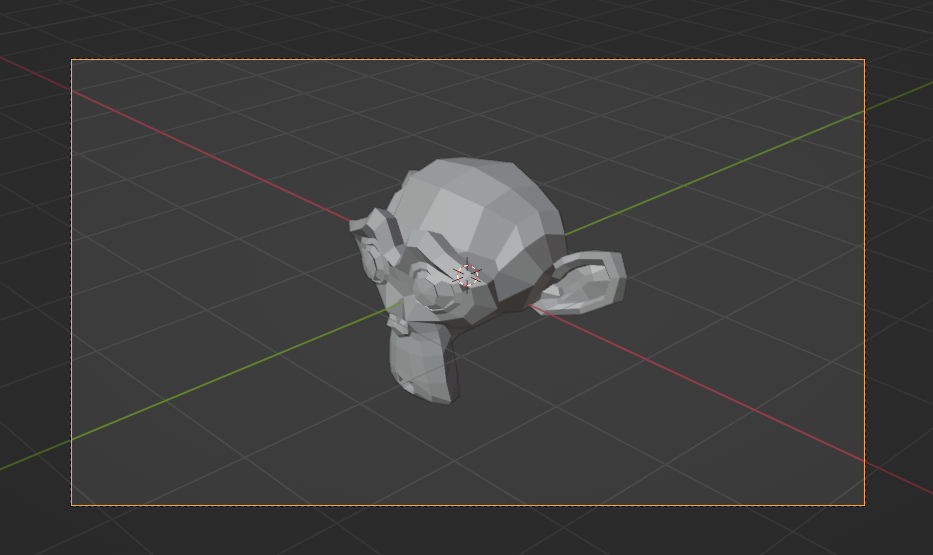
Switch to camera view
Pressing the 0 key on the numeric keypad will change the camera view.
When press 0 key
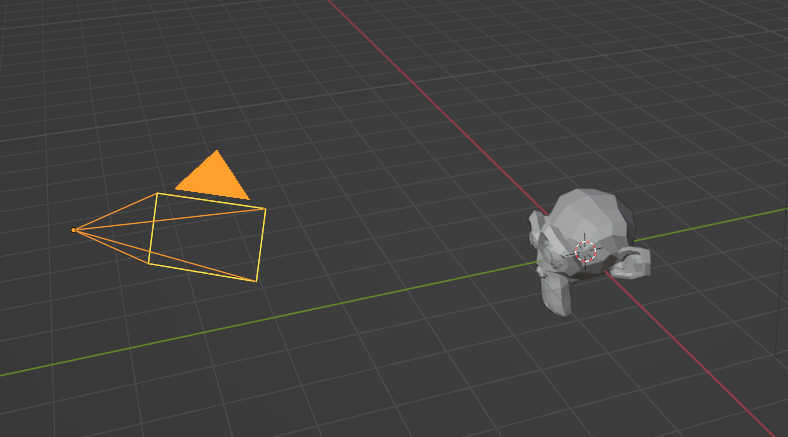
above becomes
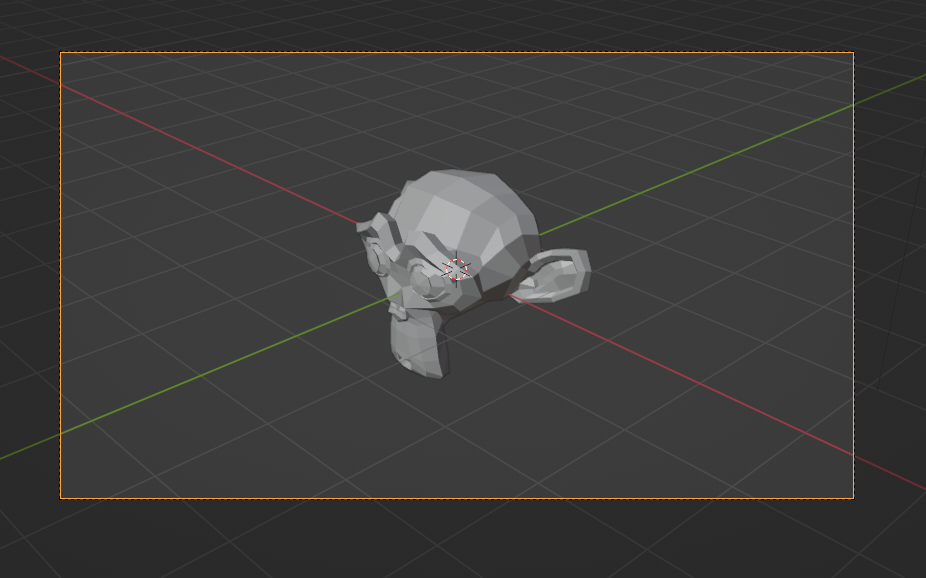
like this.
The orange frame indicates the rendering area.
Adjustment of the rendering area
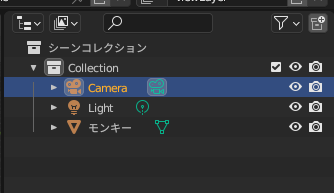
Select camera object
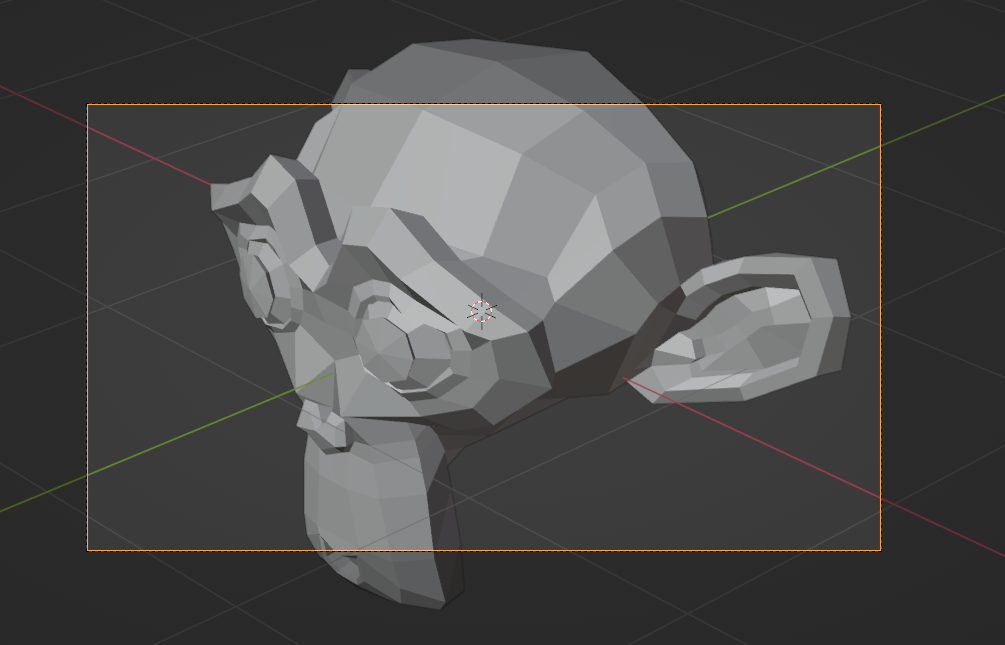
Select the object data property and change the focal length by dragging (or entering a value).
The adjustment can be made similarly even if you change the “Lens Unit” from “Millimeters” to “Angle of View”.

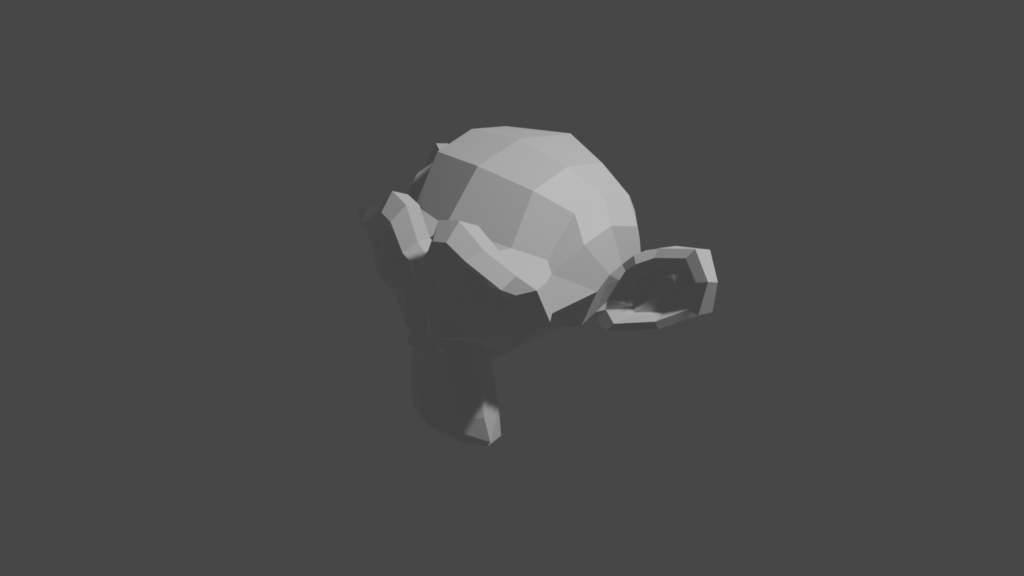
Result
As shown below, you can scale the object relative to the rendering area (indicated by the orange frame).
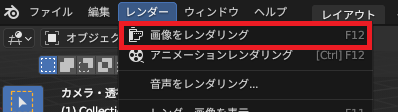
Rendering “Image” from the “Render” menu will render the orange frame.
コメント