
The purpose
This tutorial shows how to apply textures (images to 3D objects) in Blender.
While researching this process, UV unwrapping and other steps may seem complex and intimidating.
However, for simple applications, it’s surprisingly straightforward. Let me show you how.
Environment
Blender:3.4.1
Apply texture for one face
Prepare
Set the 3D view shading to ‘Material Preview’ (for result verification; not mandatory).
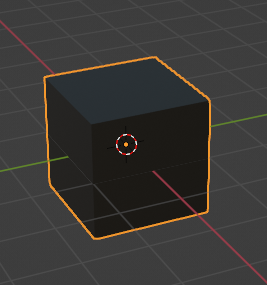
Assign a material to the faces other than the one you want to apply the texture to.
This is unnecessary if already assigned. (In this case, I used black as shown below.)
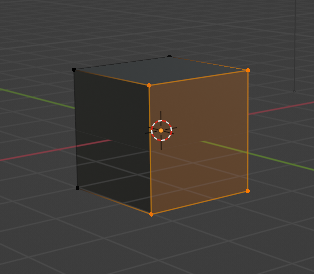
Select face
Switch to edit mode and select only the faces you want to texture.
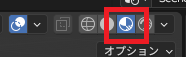
Material setting
A new material is created with the material properties and assigned to the selected face.
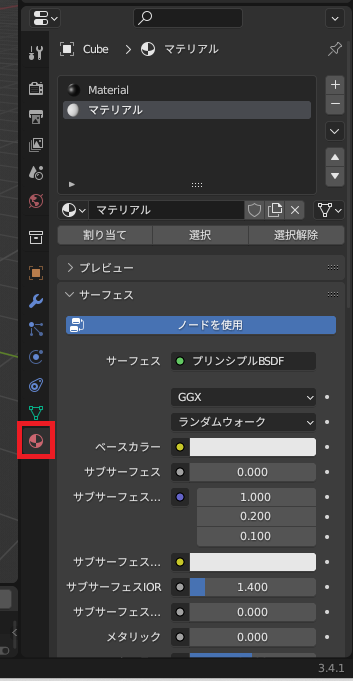
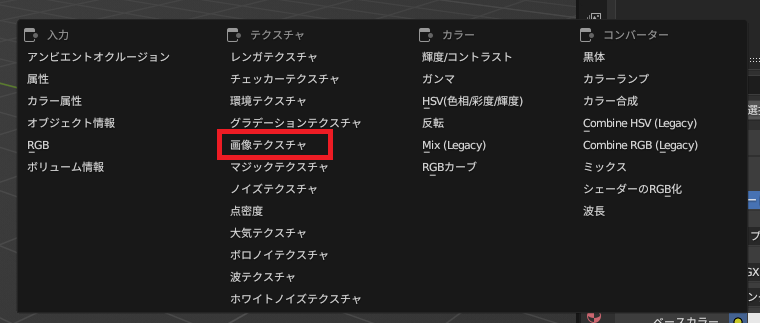
Click the yellow circle to the right of the base color of the created material.

Select an image texture from the displayed GUI.
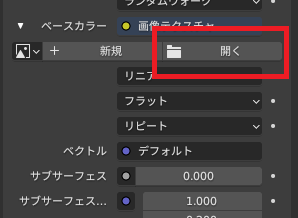
Selecting an image texture displays the following GUI on the material’s properties. Click “Open” to open the image you want to paste.
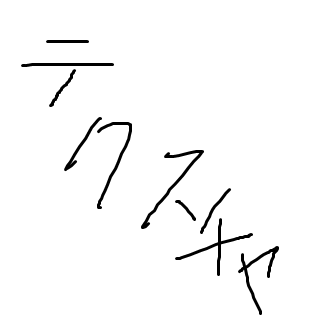
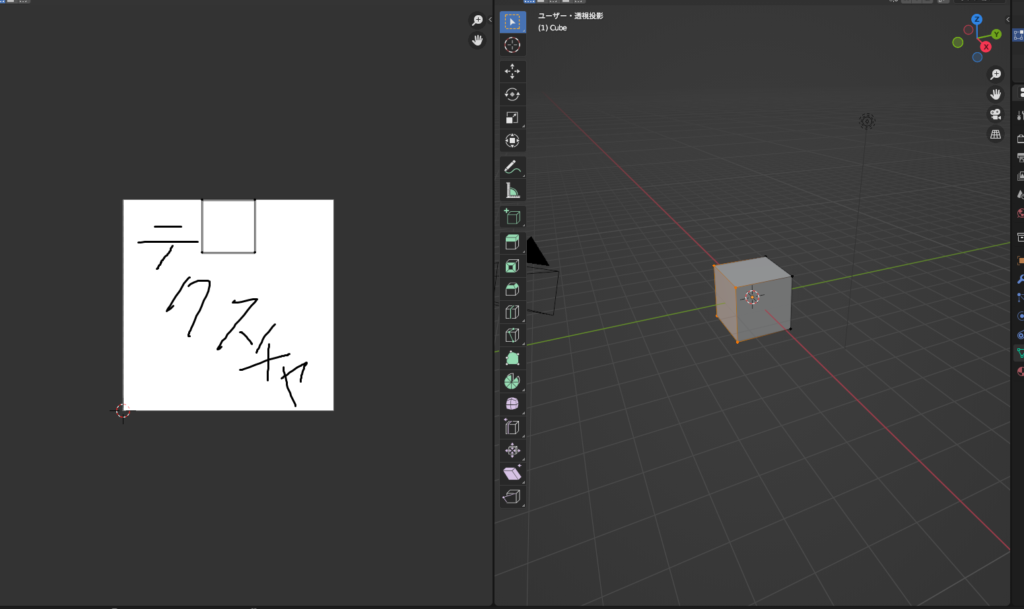
Here, we will use the following texture, “テクスチャ.png”.
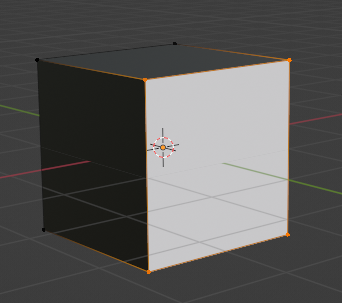
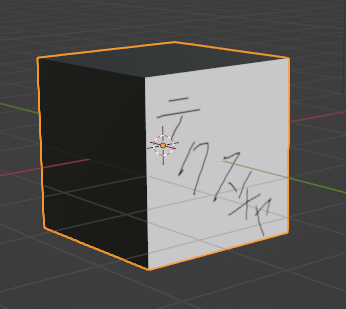
Currently, in 3D, it’s displayed as follows, but the intended image is not displayed. (It may be displayed accidentally.)
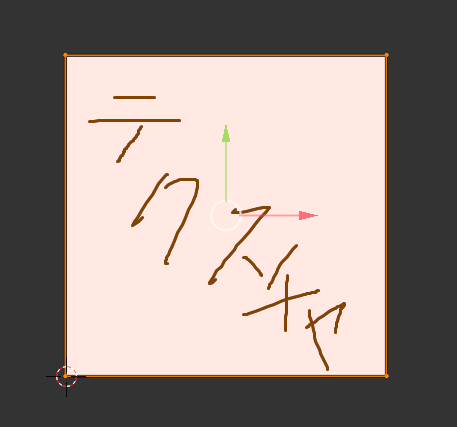
UV Edit
perform UV editing.
Click “UV Editing” at the top of the screen to access the UV editing workspace.

The following screen will be displayed, but we will only use the left-hand side.
Select the square shown below using the selection tool.
The image cannot be selected or edited.
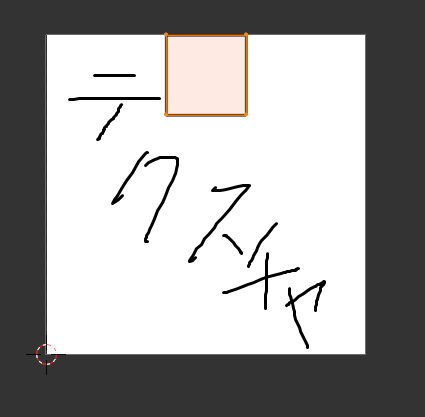
Use the zoom and move tools to align the rectangle with the image.
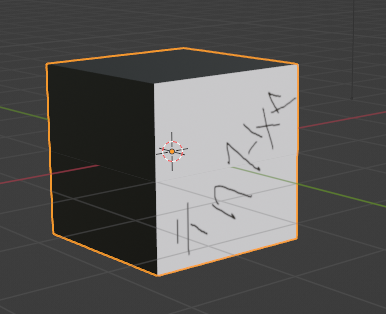
Check result
return to layout mode.

The texture (image) was applied as follows.
If necessary,adjust it by rotating, moving, and rotating, etc., using UV editing.
The rotation is of the cross-section, not the image itself, so a visually opposite rotation is needed.
In the above example, a -90 (or 270) degree rotation is performed instead of a 90 degree rotation.
Result
We are able to texture the 3D object with the image as shown below.
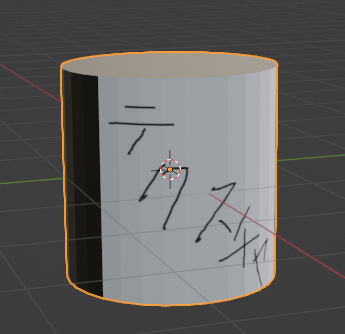
Application beyond cubes
The method described above is not limited to cubes;
it works for any object with rectangular faces to which a texture can be applied. Multiple faces are also supported.
Below is an example applied to a cylinder.

コメント