
The purpose
Dragging objects in Phaser 3
Implementation
Prepare
Add an object to the scene by dragging it in.
Here, a rectangle was added.
create ()
{
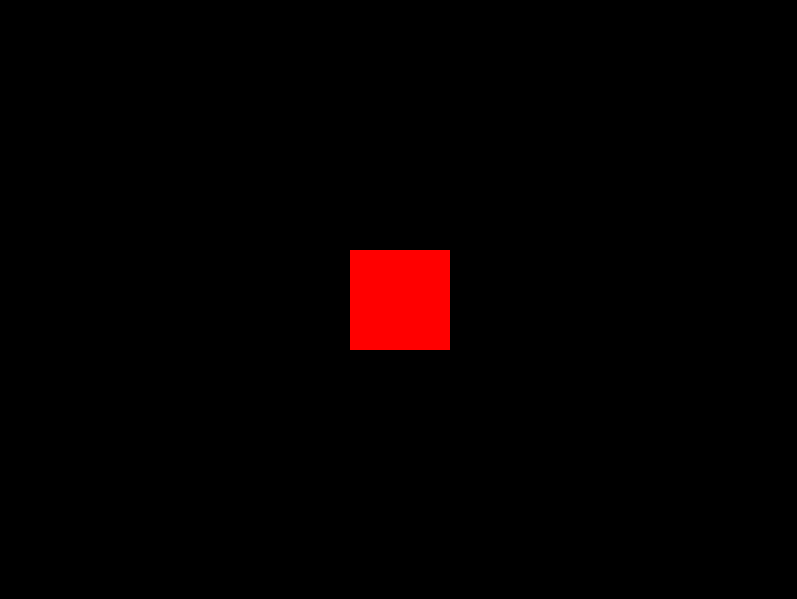
const rect = this.add.rectangle(400, 300, 100, 100, 0xff0000);
}t will be displayed as follows. (Since the entire scene is 800×600, it’s displayed in the center of the scene.)
Drag implementation
First, call rect.setInteractive({ draggable: true }) to enable dragging for the created Rect.
    create ()
    {
        const rect = this.add.rectangle(400, 300, 100, 100, 0xff0000);
        rect.setInteractive({ draggable: true }); //add
    }
Next, we specify the drag handling using rect.on('drag', ... ).
The ... part specifies a function. In this case, to move the rect to the drag destination, we use (pointer, pos_x, pos_y) => rect.setPosition(pos_x, pos_y).
create ()
{
const rect = this.add.rectangle(400, 300, 100, 100, 0xff0000);
rect.setInteractive({ draggable: true });
rect.on('drag', (pointer, pos_x, pos_y) => rect.setPosition(pos_x, pos_y)); //add
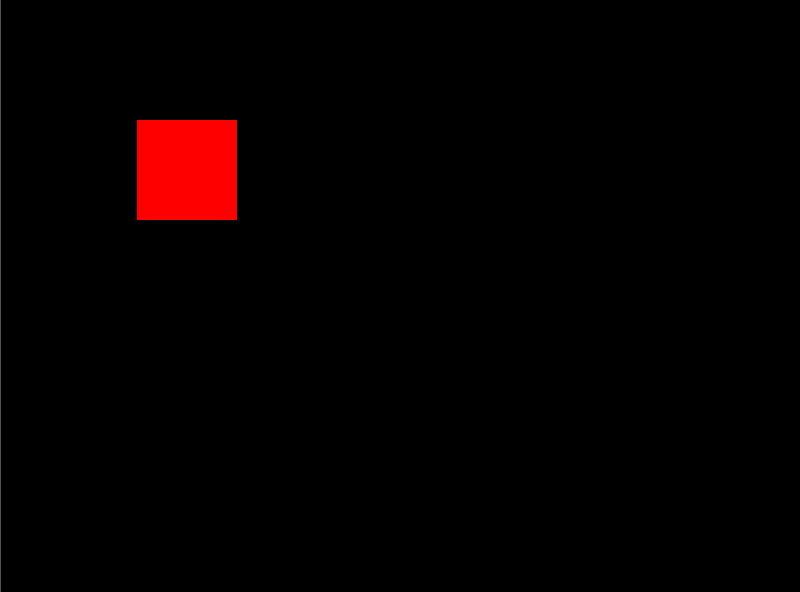
}Result
As shown below (it’s difficult to see clearly because it’s a still image), you can now move the object’s location by dragging it.
Reference

Phaser 3 Examples
labs.phaser.io

コメント