
The purpose
When using Dom objects to place HTML tags (DOM) on Phaser 3, the usage differs from other GameObjects. Therefore, I will summarize how to use them and points to note.
Usage
Prepare
To use DOM objects, you need to set the following configuration.
    dom :{
        createContainer: true
    },
For example, create a config and set it up like the following.
const config = {
    type: Phaser.AUTO,
    width: 300,
    height: 200,
    parent: 'game-container',
    backgroundColor: '#000000',
    scale: {
        mode: Phaser.Scale.FIT,
        autoCenter: Phaser.Scale.CENTER_BOTH
    },
    dom :{
        createContainer: true
    },
    scene: scene_array
};
Create a object
DOM objects are created within the Scene class as follows
let el = document.createElement('div');
el.innerHTML = text
let dom = this.add.dom(x, y, el, style);
document.createElement is not a function specific to Phaser 3, but rather a standard JavaScript function.
It creates an HTML Element, which can then be turned into a Phaser 3 object by passing it to add.dom.
MEMO
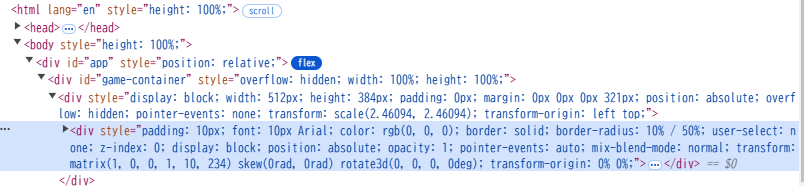
The added element can be inspected in Chrome’s (or other browsers’) Debug View.
Register event
Specify the action that should occur when the created GameObject is clicked.
However, it didn’t work even when written in the same way as other GameObjects, as follows.
dom.setInteractive()
dom.on("pointerdown", (event) => {alert()})
Instead, by setting the event on the Element instead of the GameObject, I was able to set the event that occurs upon clicking.
let el = document.createElement('div');
el.innerHTML = text

el.onclick = ()=>{alert()};

let dom = this.add.dom(x, y, el, style); 
コメント