
The purpose
Using stable-diffusion.cpp in server mode.
Pros and Cons (Limitations)
Before deciding whether or not to use server mode, please review this summary of its advantages and limitations.
Advantages (Pros)
Faster Execution: When started in server mode, the model is cached into memory, making subsequent generations much faster after the initial run.
Web UI Integration: You can easily set up an HTML frontend to input your prompts and generate images directly from a web browser.
Limitations (Cons)
Restricted Settings: API requests are limited to adjusting the prompt, batch count (number of images), image size, image format, and compression rate. Advanced or granular configurations are not supported.
Static Model Selection: You cannot swap models on the fly; switching to a different model requires a full server restart.
Build environment
Download
Download the ZIP file that matches your environment from the following page.
If you want to run it on an AMD GPU, look for versions labeled Vulkan or ROCm.
(Generally, Vulkan should be fine. ROCm tends to support a more limited range of GPUs.)

For NVIDIA GPUs, look for versions labeled “CUDA“.
The AVX512, AVX2, AVX, and No-AVX versions are for CPU operation. Please check which AVX version your CPU supports before downloading. (I was under the impression they weren’t, but it turns out AMD CPUs also support AVX. The easiest way to check your specific version is to ask an AI.)
Once you have extracted the downloaded file to a folder of your choice, the setup is complete.
Make HTML
note: It looks like packages after 2026/4/11 include HTML.
Prepare an HTML file at any location you like.
In this article, this HTML is saved as index.html.
<!DOCTYPE html>
<html lang="ja">

<head>
    <meta charset="UTF-8">
    <title>sd-cpp Web UI</title>
</head>

<body>

    <div>
        <h2>sd-cpp</h2>
        <textarea id="prompt" placeholder="Prompt...">a cat in space, digital art</textarea>

        <div class="controls">
            <select id="size">
                <option value="512x512">512x512</option>
                <option value="768x768">768x768</option>
                <option value="1024x1024">1024x1024</option>
            </select>
            <button id="genBtn" onclick="generate()">Generate</button>
        </div>
        <div id="status" class="status"></div>
        <div id="result"></div>
    </div>

    <script>
        async function generate() {
            const prompt = document.getElementById('prompt').value;
            const size = document.getElementById('size').value;
            const btn = document.getElementById('genBtn');
            const status = document.getElementById('status');
            const resultDiv = document.getElementById('result');

            btn.disabled = true;
            status.innerText = "Generating";
            resultDiv.innerHTML = "";

            try {
                const response = await fetch('/v1/images/generations', {
                    method: 'POST',
                    headers: { 'Content-Type': 'application/json' },
                    body: JSON.stringify({
                        prompt: prompt,
                        n: 1,
                        size: size,
                        response_format: "b64_json"
                    })
                });

                const jsonResponse = await response.json();

                if (jsonResponse.data && jsonResponse.data.length > 0) {
                    const b64Data = jsonResponse.data[0].b64_json;
                    const imgSrc = `data:image/png;base64,${b64Data}`;

                    resultDiv.innerHTML = `
                    <img src="${imgSrc}" alt="Generated Image">
                    <br>
                    <a href="${imgSrc}" download="generated.png" style="display:inline-block; margin-top:10px;">SAVE</a>
                `;
                    status.innerText = "DONE!!";
                } else {
                    throw new Error("Failed to generate image");
                }

            } catch (err) {
                console.error(err);
                status.innerText = "Error: " + err.message;
            } finally {
                btn.disabled = false;
            }
        }
    </script>

</body>

</html>
Execute
Start the server
Start the server using the following command:
sd-server.exe --listen-port 8888 --serve-html-path /path/to/your/html -s -1 [model_info]
For [model_info], enter something like -m /path/to/model. These are the same arguments used to start sd-cli.exe.
The -s -1 argument specifies that a random seed should be used. Since the seed cannot be configured directly from the HTML page, it is set to random by default.
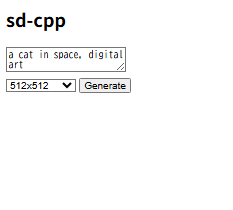
Once the server is up and running, open your browser and go to http://127.0.0.1:8888/.
When the screen shown below appears, enter your prompt and click Generate to create your image.
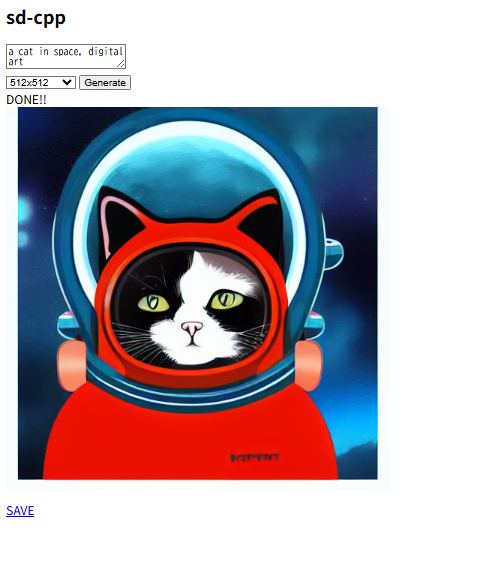
Once generated, the images will be displayed as shown below. Please note that they are not saved locally.
Example of Startup Parameters
Startup parameters for sd-cli:
sd-cli -m [model_path] -p "a lovely cat" -s -1
Startup parameters for sd-server:
sd-server.exe --listen-port 8888 --serve-html-path [path_to_created_html] -s -1 -m [model_path]

コメント