
The purpose
If you’re managing files with TortoiseGit, simply renaming a file by deleting the old one and creating a new one will break the historical link between the two. This makes it much harder to track changes and manage your project effectively.
This article will show you how to properly rename files using TortoiseGit and how to view the history of a file even after it’s been renamed.
Rename file
Right-click the file you want to rename. Then, click “Show more options.”
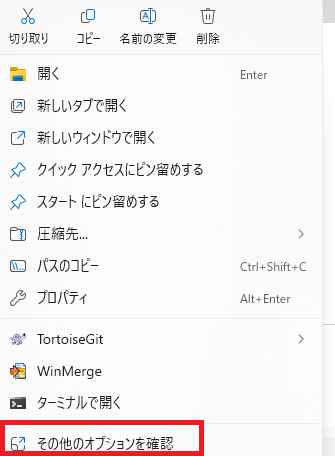
Please note that depending on your operating system or settings, the menu displayed might appear at the bottom instead of the top.
The menu will reappear. Select “TortoiseGit” and then “Rename…”.

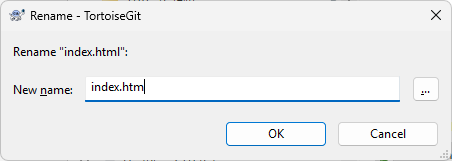
The following dialog box will appear. Enter the new name for the file and click OK.
(As an example, index.html is being changed to index.htm.)
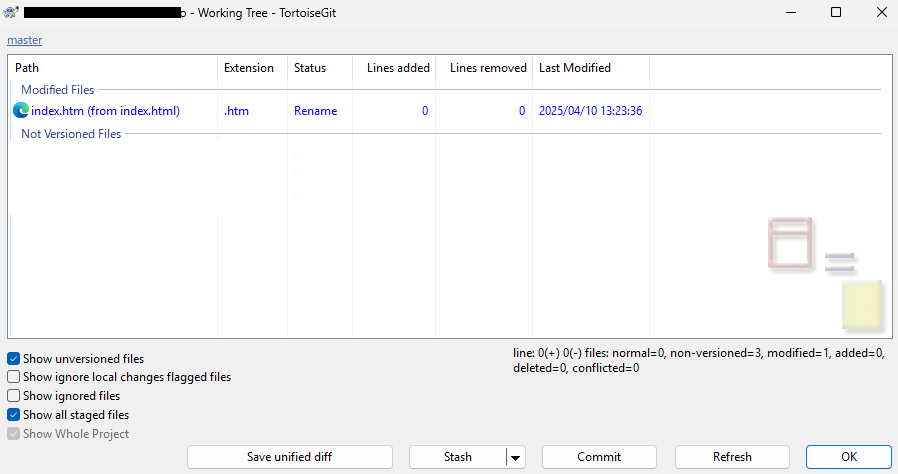
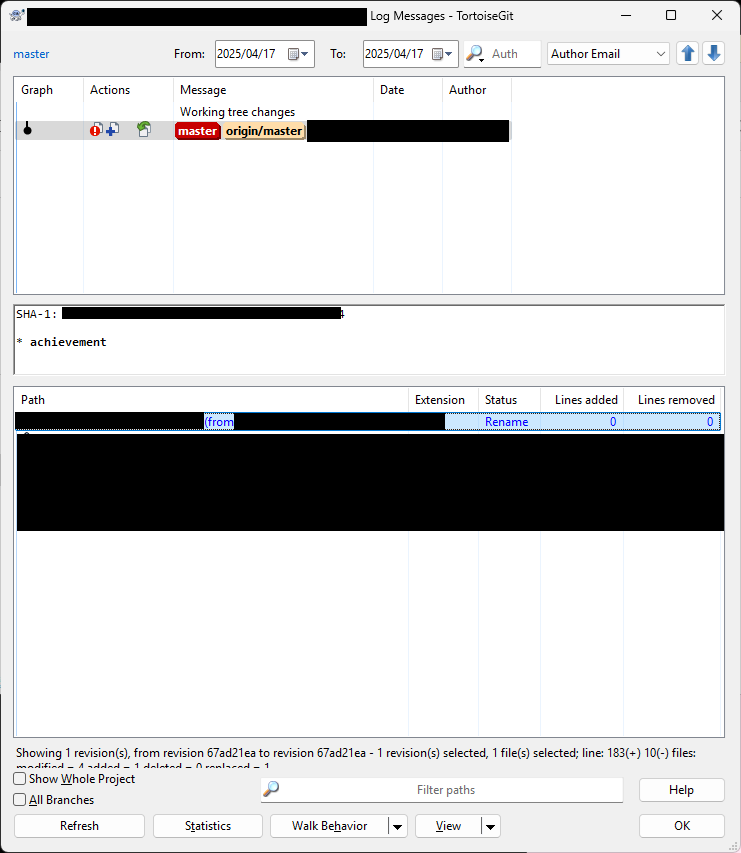
When you check a diff, you’ll see that the change is registered as a rename operation, as shown below.
Checking History After Renaming a File
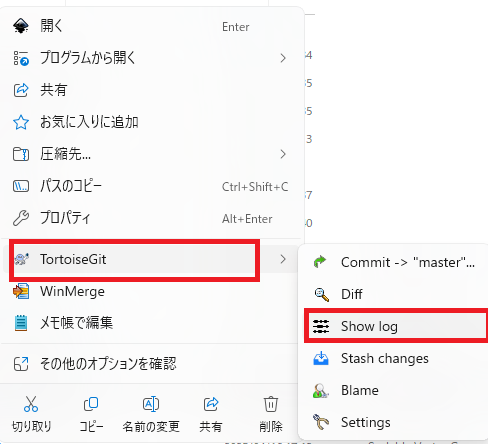
To view the change history of a renamed file, right-click the file and select “TortoiseGit” > “Show log.”
However, you can’t directly check the history of the file before its name change.
To do that, you need to select the commit where the file was renamed in the “Log Messages” window, and then locate the specific renamed file within the changes displayed in the lower pane of that window.
変更したファイルを右クリックして”Show log before rename/copy”をクリックします。
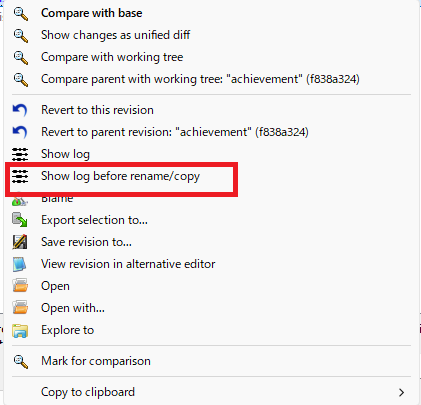
Right-click the renamed file and select “Show log before rename/copy.”
Result
We successfully registered the file rename with Git, and you were able to check the file’s history, even seeing its changes from before the rename.

コメント