
The purpose
WSL 2.0 lets you run Linux (Ubuntu) on Windows.
I tried setting it up based on some guides I found, but the initial methods didn’t quite work out for a beginner like me. So, here, I’ll share the steps that actually worked for a novice to get it running, along with some basic usage tips.
Environment
Windows11 Pro 24H2 (
Please be aware that the steps or behavior might differ depending on the version.)
Install
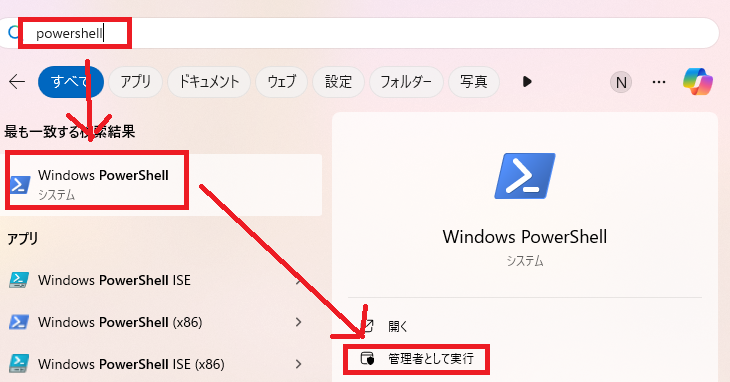
To run PowerShell as an administrator, follow these steps:
- Launch the Windows Start menu.
- Search for “PowerShell.”
- Select “Windows PowerShell” from the search results.
- On the right side, choose “Run as administrator.”
Please execute the following command in PowerShell.
wsl --installThe process will complete in a few minutes, and you’ll be prompted to restart Windows.
After the restart is complete, run PowerShell as an administrator again.
Then, execute the following command in PowerShell:
wsl --installYou might suspect a typo, but you’ll execute the same command twice.
StartUp
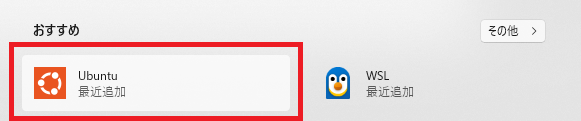
Ubuntu will be added to your Windows Start menu as shown below; click it to run.
When it launches, a terminal will appear, and you’ll be prompted to set up a username and password. Go ahead and configure those.
Please note that nothing will be displayed when you enter your password.
Once user setup is complete, you can start using the Ubuntu terminal.
Result
I was able to run Linux (Ubuntu) on Windows using WSL 2.0
About file management
Managing WSL Files from Windows
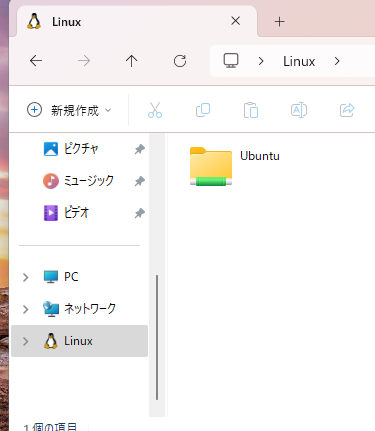
In Windows, you’ll see Linux added to the left-hand navigation pane of File Explorer, like this:
Inside this Linux section, you’ll find Ubuntu (or whatever Linux distribution you’ve installed with WSL). Your files created within WSL are located here, and you can directly read from and write to them using your familiar Windows tools.
Accessing Windows Drives from WSL
You can access your Windows C: drive by navigating to /mnt/c/ in your terminal.

コメント